
Yes, you can technically install a garage door opener yourself in Conshohocken, PA, but it's rarely the best choice for safety and long-term performance. While DIY installation might seem straightforward with modern instruction manuals, the process involves electrical work, precise alignment, and potentially dangerous spring adjustments that can lead to costly mistakes or injuries.
Many Conshohocken homeowners discover halfway through their weekend project that garage door opener installation requires more technical expertise than anticipated. The combination of heavy components, electrical connections, and safety sensor calibration creates multiple opportunities for things to go wrong.
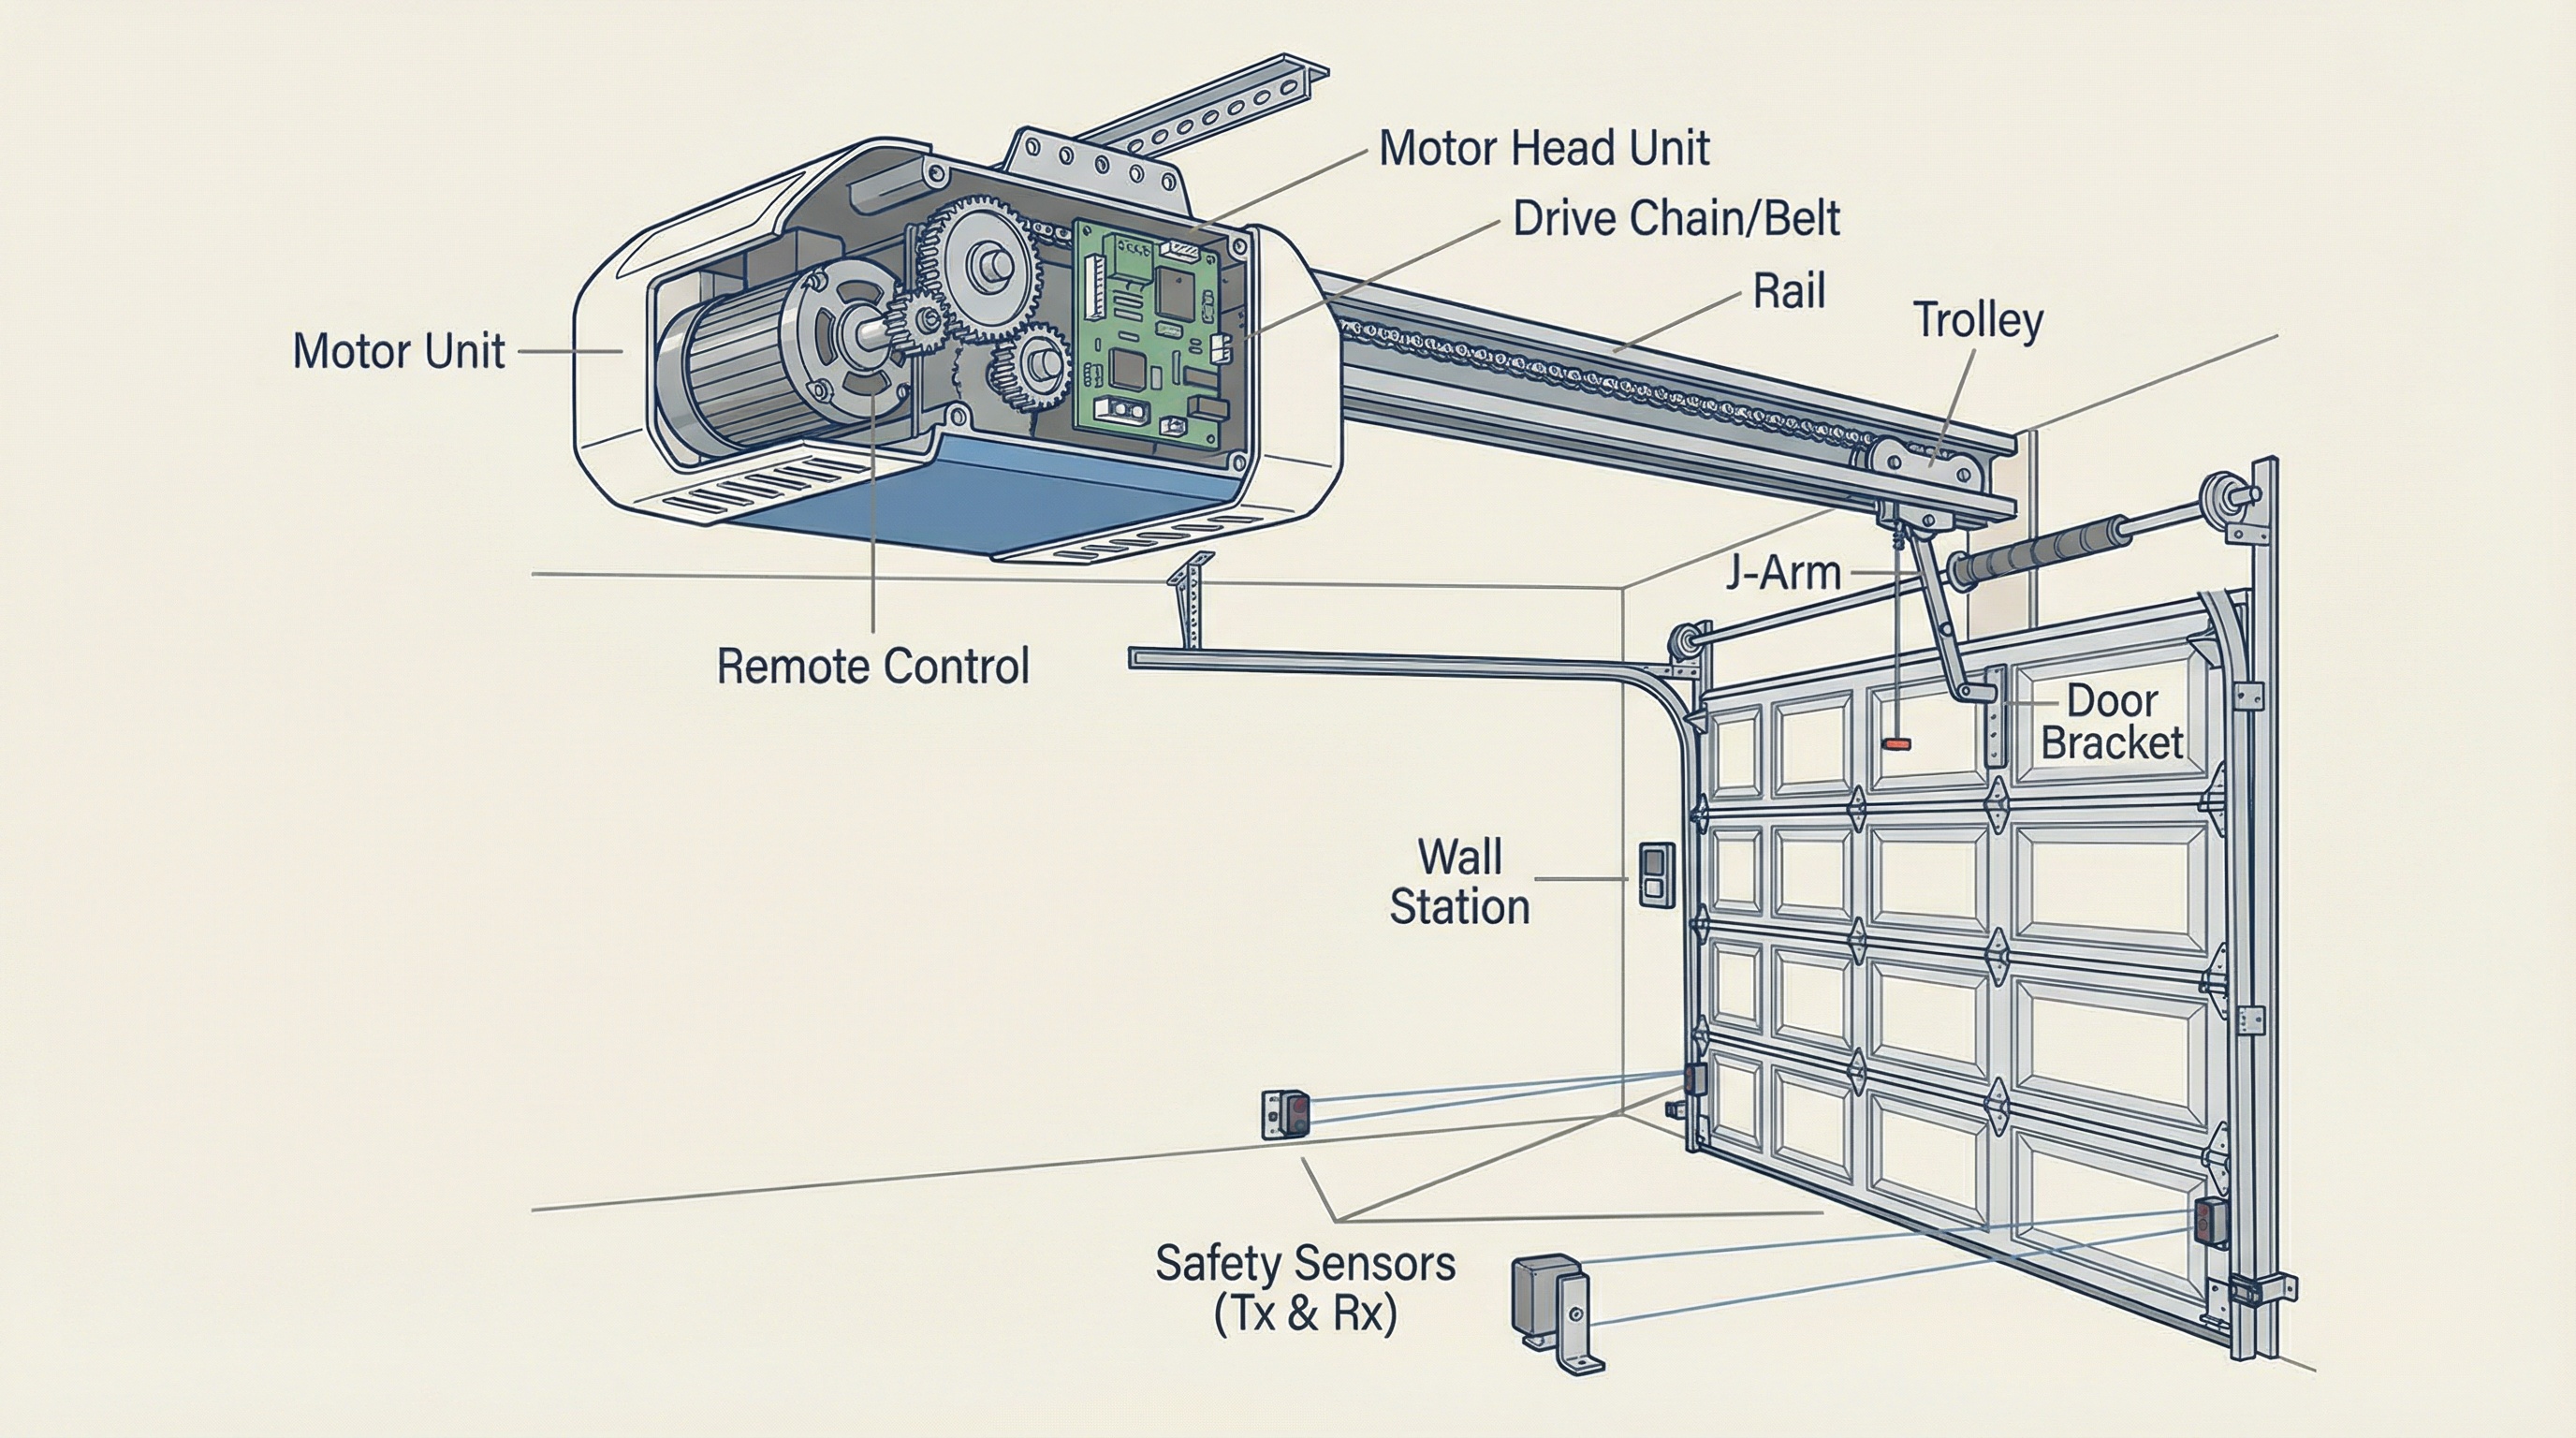
Quick FactThe system includes several interconnected components that must work together seamlessly. The motor unit typically mounts to ceiling joists and connects to a rail system that guides the trolley mechanism. Safety sensors positioned near the floor on each side of the door communicate with the opener to prevent accidents.
You'll also need to connect the wall panel, program remote controls, and ensure proper door balance before the opener can function safely. Each component requires precise positioning and calibration. The electrical connections must comply with local codes, and the entire system needs testing to verify all safety features work correctly.
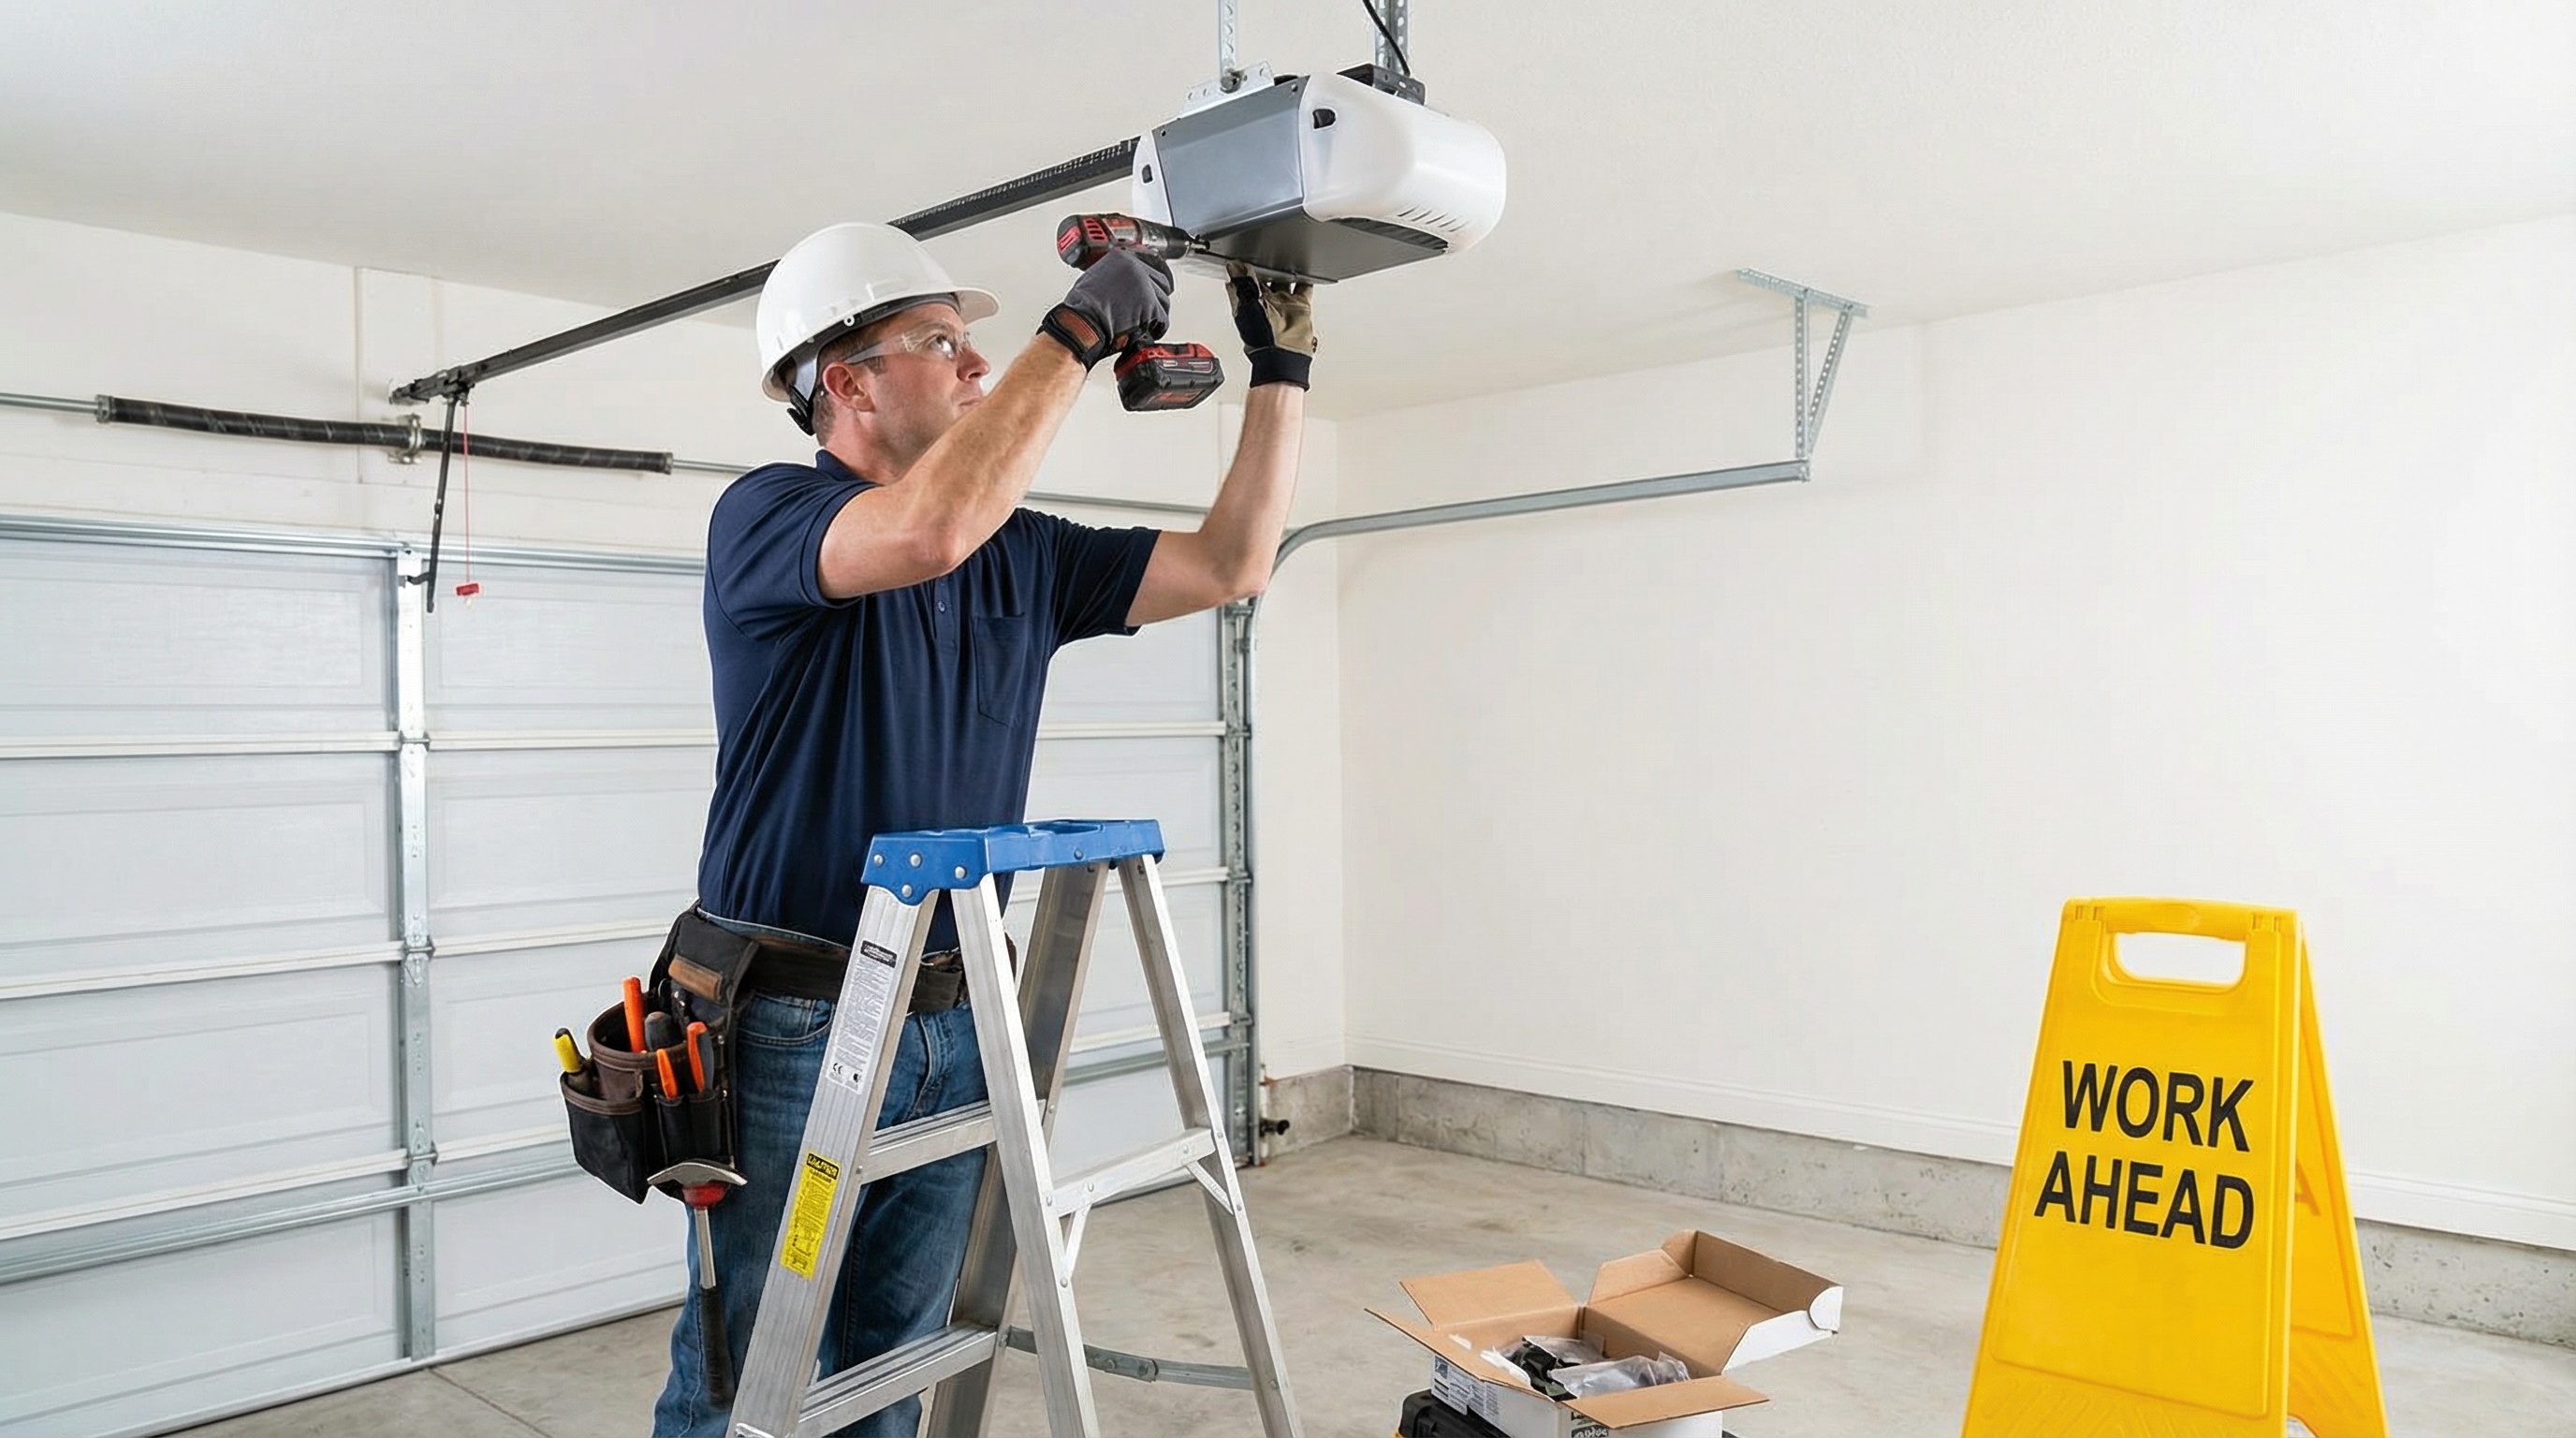
The physical demands shouldn't be underestimated either. Garage door openers can weigh 50-100 pounds, and you'll be working overhead for extended periods. The installation process typically takes 4-6 hours for experienced DIYers, but first-timers often find themselves working well into the evening.
Before attempting installation, you'll need a comprehensive tool set including a power drill, socket wrenches, measuring tape, and a sturdy ladder. More importantly, you'll need basic electrical knowledge to safely connect the opener to your home's power supply. Many Conshohocken homes have unique electrical configurations that can complicate the process.
You'll also need the physical strength to lift heavy components and hold them in position while securing mounting hardware. The installation requires precise measurements and the ability to work safely at height. Understanding garage door balance and spring tension is crucial, as an unbalanced door can damage the opener motor or create safety hazards. If you're wondering how to tell if a garage door motor is bad, signs of motor failure can often be detected before installation.
Perhaps most critically, you'll need troubleshooting skills when things don't go according to the manual. Real-world installations rarely match the idealized scenarios shown in instruction guides, and you'll likely encounter unexpected challenges specific to your garage's configuration.
Tool CategoryEssential ItemsWhy You Need ThemPower ToolsDrill, impact driverMounting brackets, electrical connectionsHand ToolsSocket set, measuring tapePrecise alignment, hardware installationSafety EquipmentLadder, safety glassesWorking at height, debris protectionElectricalWire strippers, voltage testerSafe electrical connections
Even with the right tools, several installation challenges frequently derail DIY projects in Conshohocken. Incorrect alignment tops the list of problems. Your garage door must be perfectly balanced and properly aligned with the opener rail, or you'll experience uneven movement, excessive noise, and premature wear on the motor.
Safety sensor installation causes headaches for many homeowners. These sensors must be positioned exactly right and properly aligned with each other. If they're even slightly off, your door won't close properly, leaving your garage vulnerable. The sensors also need protection from garage activities that might bump them out of alignment. Understanding the signs that your garage door opener needs repair can help you identify issues early.
Electrical issues present another major hurdle. Connecting the opener to your home's electrical system requires understanding local codes and safety procedures. Many Conshohocken homes have older electrical systems that may need updates before a new opener can be safely installed. Problems with the electrical system can sometimes be traced to a faulty garage door circuit board, which requires professional diagnosis.
Important Note: Spring tension adjustments should never be attempted by homeowners. The opener must be securely attached to ceiling joists, not just drywall. In some garages, finding adequate structural support requires modifications to the ceiling or additional bracing. Getting this wrong can result in the opener falling, potentially causing injury or property damage.
Certain situations make professional installation the clear choice. If your garage door is oversized, heavy, or if you lack electrical experience, skip the DIY route. High ceilings or difficult access also favor professional installation, as does any uncertainty about your door's balance or spring condition.
Professional installers bring specialized tools and years of experience to the job. They can spot potential problems before they become expensive repairs and ensure your installation meets all safety standards. Most importantly, professional installation typically includes warranties on both parts and labor, protecting your investment. If you're experiencing issues, you might wonder whether a garage door motor can be repaired rather than replaced entirely.
The cost difference between DIY and professional installation often narrows when you factor in tool purchases, potential mistakes, and your time. Professional installers can complete the job in 2-3 hours with guaranteed results, while DIY attempts often stretch across entire weekends with uncertain outcomes. For those considering the DIY route for motor replacement specifically, it's worth learning about whether replacing a garage door motor is hard before committing to the project.
Consider calling professionals if you notice any existing issues with your garage door operation, unusual noises, or visible damage to tracks or springs. These problems need addressing before a new opener installation, and attempting to fix them yourself can be dangerous.
While DIY garage door opener installation is technically possible, the combination of safety risks, technical complexity, and potential for costly mistakes makes professional installation the smarter choice for most Conshohocken homeowners. The peace of mind that comes with professional installation and warranty coverage often outweighs any initial cost savings from doing it yourself.
Professional garage door opener installation in Conshohocken typically costs between $300-600 for labor, plus the cost of the opener unit ($150-800 depending on features). DIY installation only requires the opener cost plus tools (around $50-100 if you don't own them), but factor in potential repair costs from mistakes and your time investment of 4-6 hours or more.
Essential tools include a power drill, impact driver, socket wrench set, measuring tape, sturdy ladder, wire strippers, voltage tester, and safety glasses. You'll also need the physical strength to lift 50-100 pound components and hold them overhead while securing mounting hardware. Basic electrical knowledge is crucial for safe power connections.
While technically possible, DIY garage door opener installation involves significant safety risks including electrical work, heavy lifting overhead, and potential spring adjustments that store dangerous amounts of energy. Improper installation is a leading cause of premature opener failure and can create safety hazards. Professional installation ensures proper safety sensor calibration and code compliance.
Professional installers typically complete garage door opener installation in 2-3 hours with guaranteed results. DIY installation usually takes 4-6 hours for experienced DIYers, but first-time installers often find themselves working well into the evening or across entire weekends, especially when encountering unexpected challenges specific to their garage configuration.
Get your garage door back on track today!


